Showing posts with label Animation. Show all posts

Thursday, June 21, 2012

Natural Character Animation: Common Problems


Most beginner 3D artists have a hard time with character animation. Animation in general is not a skill you pick up easily. The best thing to do? Practice, just like anything.

A few common mistakes that are seen among amateurs:


  • Timing
  • Flow
  • Natural poses
  • Sliding
  • Ambient motion


Timing


Many rookies make the accidental mistake of fast animation when rendered, caused by lagging 3D view animation. An easy fix for this is opening a timeline, and checking Playback > Frame Dropping. This will play frames at the frame-rate required skipping them when needed. If you do run into this problem, you can easily change the speed of an animation later, by scaling the curves in the Graph Editor.

The other problem is mixed speeds. Animating a walk cycle that is very fast, then animating the next section too slow, will make changing speeds later much harder. The only answer to this is a painstakingly slow process of selecting chunks of the animation and scaling them to match a natural speed. You can avoid this is if you make sure that the last section of animation matches the current section.

Timing also effects...

Flow


Flow is another important element in animation. Sections of an animation that do not flow into each other, will  look choppy and unnatural. There is no easy fix for this, the best thing to do, is to watch the transition between the two motions and try to make it as clean as possible.

Natural Poses

Natural poses are important to animation, but it is more important to great poses when you are doing stills:

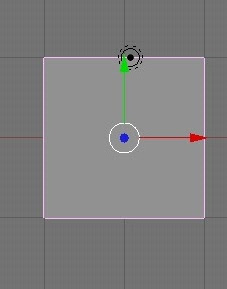
(It took 10 minutes to find this pose!)
Its not great, but its better than this:

(This pose took about 10 seconds to do)
One thing you can do that sometimes helps is to look at images and videos as pose references.

Sliding


A huge problem with most walk/run cycles is sliding. So many animations have walkers and runners that slide, and its not even hard to fix!!! As long as you are using a path(which makes animation easier anyway) you can easily prevent sliding by adjusting frames slider.

Ambient Motion


What I mean by ambient motion is subtle natural motion such as scratch, stretching, looking around, etc.
Good animation is full of ambient motion, and makes the character feel more real.


And that's it. If you have animating tips, post them in the comments below. Thanks!

Saturday, April 30, 2011

Holograph VFX Tutorial

This tutorial is way overdue, sorry :( The recording software I was using is not very good so halfway through the tutorial, the screen went black. I had to rerecord four times! I figured out that you have to make separate sections. Sorry again. Here's the tutorial:


I hope it was worth the wait!

Friday, July 9, 2010

How Morph in an Animation

In the last article I wrote about making shape keys. Now what are you going to do with those!? The entire reason you made those was to animate them!

Skill: Mediam

Here are the steps:

1. Start up Blender.
2. Open your .blend file that has Shape Keys in it.
3. Open an Ipo Curve Editor if you don't know how to, look at my article on animation.

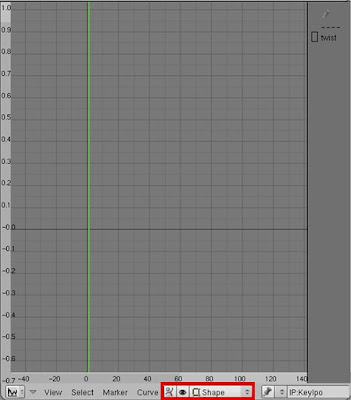
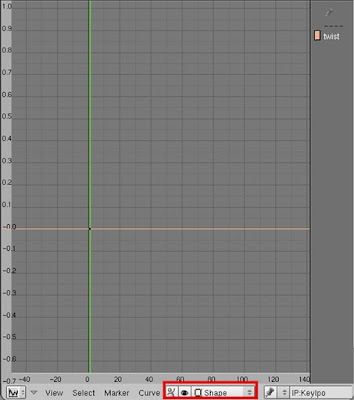
4. On the Ipo Type drop down menu select Shape.
5. Open the Edit Tools Panel.
6. Open the Shapes tab.
7. Select the Shape Key key you want to animate.
8. Drag the slider to the correct value for the Shape Key in frame one.

9. Advance a few frames.
10. Drag the slider to the correct value.
11. Repeat step 9-10 to the end of the animation.


Now you can animate shape keys!!! Try using shape keys in your next animation.

How to Make a Cube Move and Rotate in an Animation

I want to make an animated movie. But the first step to take is just being able to make a cube move and rotate. I think animating is one of the first things you should learn once you can model. Animation allows you to do a lot of advanced things like making games with Blender's bullet physics engine. So I would recomend learning it early.

Skill: Easy

The following are the steps required to make an animation. 

1. Make a new .blend file by pressing CTRL+X and then press ENTER.
2. Press SHIFT+DOWNARROW on your keyboard (this sets the current frame to frame one - notice that the frame number and name of the object is shown in the lower left hand corner. The reason that I do not have the object name shown is because I do not have any selected).
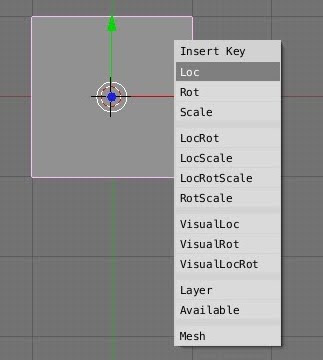
3. Press I on your keyboard.
4. On the drop down menu press the LocRot selection(this is inserting the location and rotation of your object) - notice that the frame number in the corner will turn yellow.
 

5. Advance a few frames by pressing the UPARROW on your keyboard(this will advance you by ten frames. If you want to advance only by one frame then press the RIGHTARROW on your keyboard).
6. Move and/or rotate your object by pressing M (for move) and R (for rotate).
 
7. Repeat steps 4-6 until your animation is complete.
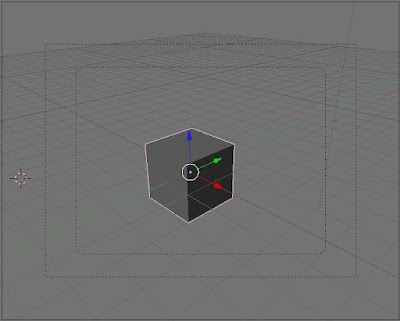
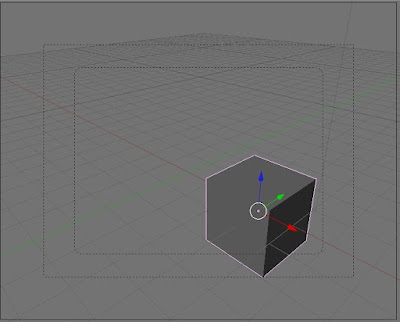
8. Press the the 0 on the Number Pad and you will enter camera mode (1), then press Alt+A to play the animation (2).
(1)
(2)

This part is optional(but its good to know!):
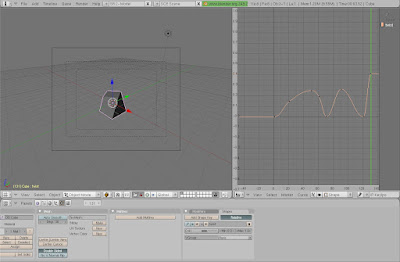
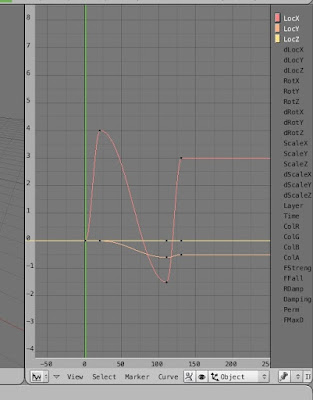
9. To understand what a animation is doing you can open an Ipo Curve Editor it is a set of curves that reveal you what your animation is doing.
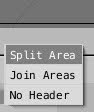
10. Right click on the the line between the 3D view and the Button Window and then left click after you drag the line to the center of the 3D view.
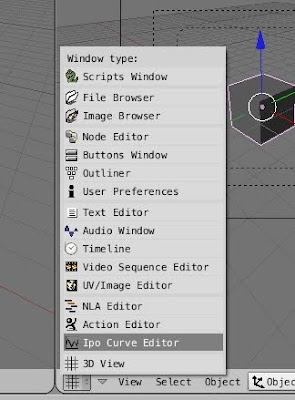
11. Click the drop down button with the grid on it and select the Ipo Curve Editor.
12. You will see some numbers on the bottom and left side representing the X , Y , Z location and X , Y , Z rotation in blender units.
 
Now you can animate!!! Thats great, try making a test animation without looking at this article.

Note: You can also use the Rot, Loc, Scale, LocScale, LocRotScale and RotScale if you want. Scale just inserts the scale of an object if you want to make something grow or shrink.